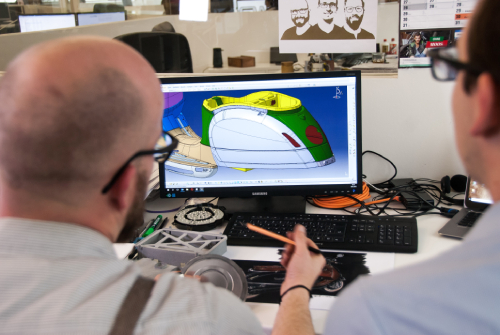
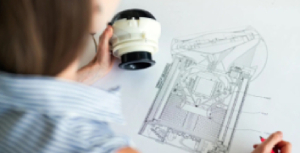
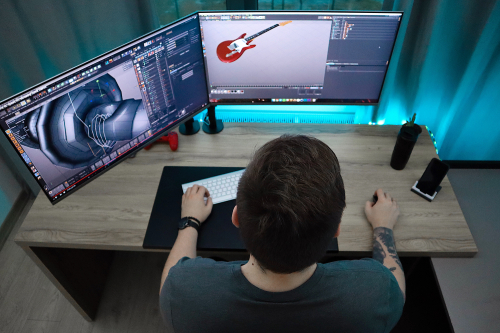
Whether you're working alone or with a team of designers and product managers, having a clear picture of the product you're creating is vital to the success of the project. Having an idea is the easiest part of product design. Cementing it on paper is the hardest.
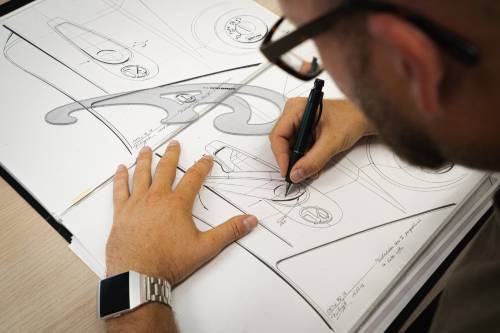
Product design isn't just representing your product in an appealing way. Even with an initial idea, product designers find a lot of idea generation happens after they start sketching. Product design requires you to think about the practicality, user experience, and, of course, the design of your product.
This guide will show beginner product designers a step-by-step guide on how to turn that idea into a sketch and a sketch into a fully marker-rendered product design.
Materials
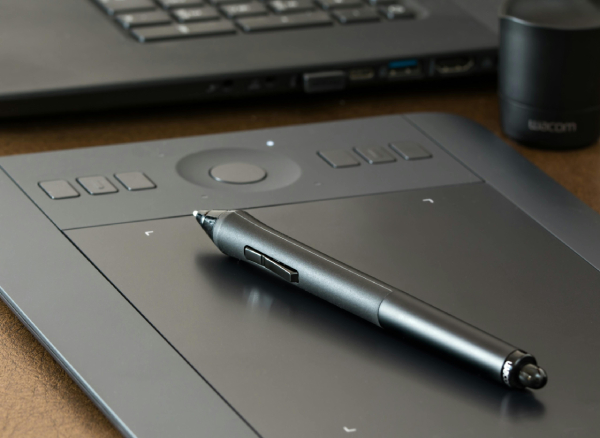
All you need to truly get started are pens, pencils, some paper, and coloured markers for the final render.
Don't get stuck searching for the perfect, industry-standard tools. As a beginner, spending money on expensive materials isn't going to help you become a better designer. Senior product designers will tell you when it comes to the tools you use: It's what you do with it, not what you do it with.
So, it doesn't matter the brand you choose but shop around for a pencil that feels good both in your hand and on paper. You'll be spending a lot of time with it.
Initial Brainstorming
Before you break out your sketchbook, you need to know what you're designing first. A product isn't just its appearance – it's a sum of its parts, each working towards providing a good experience for consumers.
What the product will look like, how it will work, and what you can do with it are all questions you'll have to ask yourself as a product designer when you begin your initial sketch. For example, you won't know to draw a button if you didn't anticipate its function beforehand.
The Sketch
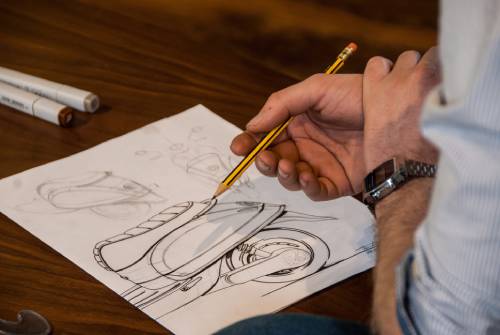
Sketching is the biggest part of product design. This is where you lay the foundation of the product, so you'll want to get it right. As a beginner, getting it right will be difficult.
There are so many things you must consider: scale, perspective, shading, and proportions. It's important to have fundamental knowledge about drawing before you start, so you don't find yourself stuck sketching the same part repeatedly and making no progress.
Beginners should sketch over similar products with tracing paper or low-opacity prints to gain a good sense of proportion and perspective in the real world.
Time to render
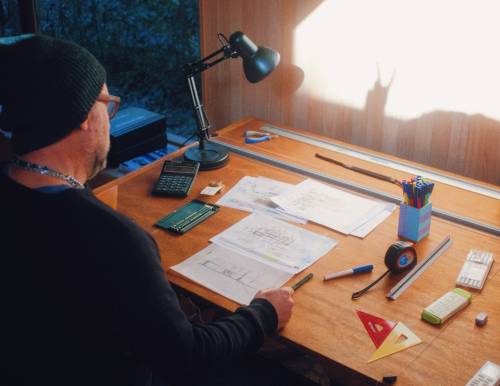
Rendering your sketch is the last step to a finished product design, and marker rendering is about more than just adding colour. Once you're sure your sketch is final and complete, you'll want to go in and use your markers to add detail. Adding detail is the best way to represent the product you're trying to create. Detail adds an element of realism and helps bring a product alive in front of clients and product managers.
Aside from colour, marker rendering is about adding shading and contours. Examine how your product interacts with lights and shadows. Use base colours first and then go in with darker shades afterwards to introduce a smoother contrast. When marker rendering, you can always add more colour; you can't take it away.
The final step is to choose your lightest colour and add highlights. Make sure you know where your light source is hitting the product to finish up your piece.
